Get Online Fast: Essential Tips for Your Asus ROG Rapture GT-BE98 Pro Setup!
The Asus ROG Rapture GT-BE98 Pro stands out as a vertex of home networking, especially for gamers. These networking gateways deliver high performance through optimized control, cutting-edge wifi-7 technology, and multi-gig Ethernet ports. Indeed, you can experience all these through the Asus ROG Rapture GT-BE98 Pro Setup, and deliver ultra-low latency and a truly dominant online experience.
Whether you are a novice or an existing user, this guide will break down the router setup to quickly meet your digital requirements. Apart from setting up the Asus ROG Rapture GT-BE98 Pro Quad-Band WiFi 7 Gaming Router, you will also learn to update the firmware on your device. So, let’s kick-start this procedure!
Getting Started With Asus ROG Rapture GT-BE98 Pro Setup!
Before we start the setup process, a few things require careful attention. These things include the key system and hardware requirements, and essential information. Below are a few things you need to take into account before starting the Asus ROG Rapture GT-BE98 Pro Setup
1. Setup Requirements
When you newly purchase an Asus ROG Rapture GT-BE98 Pro Quad-Band WiFi 7 Gaming Router, setup is fundamental to its optimal use. So, you need to keep your computer or laptop handy with these system requirements before the setup:
- An Ethernet RJ-45 cable
- IEEE 802.11 a/b/g/n/ac/ax/be compatibility
- A web browser (Mozilla Firefox, Google Chrome, IE, etc.)
- TCP/IP service
- An active internet connection (2.5 GHz, 5 GHz, or 6GHz compatible with your device), etc.
Apart from these essential requirements, you must also be ready with the default login credentials, web/IP address, wifi network name (SSID ), and password. For a mobile-friendly setup, you will require the latest Asus Router app and a compatible smartphone/tablet.
2. Unboxing
After collecting the required items for this process, you must unpack your router. Consider the following to unpack your device and ensure received:
- An Asus ROG Rapture GT-BE98 Pro Quad-Band WiFi 7 Gaming Router unit
- AC power adapter
- RJ-45 Network cable
- Quick Start Guide, etc.
After unboxing the device, you are all set to head directly for the setup. So, let’s walk through the Asus ROG Rapture GT-BE98 Pro Setup step-by-step in the next section.
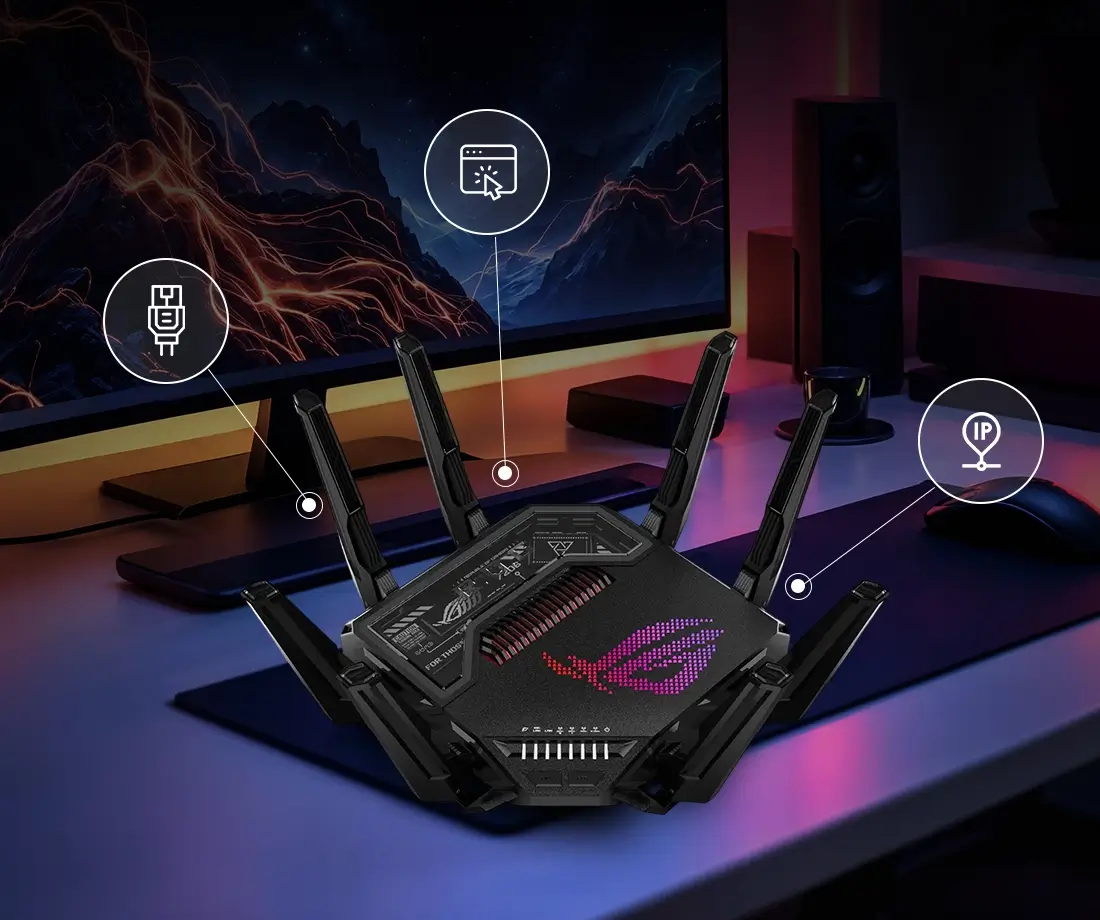
How to Set Up Asus ROG Rapture GT-BE98 Pro Quad-Band WiFi 7 Gaming Router?
Indeed, it is important to opt for a wired connection to set up your device to avoid any issues in the setup. But if you prefer a wireless network over a wired one, then disconnect the router from your network. Also, disconnect the cables from your modem or remove its battery and reboot the devices. Now, your device is ready for the configuration. So, follow these steps:
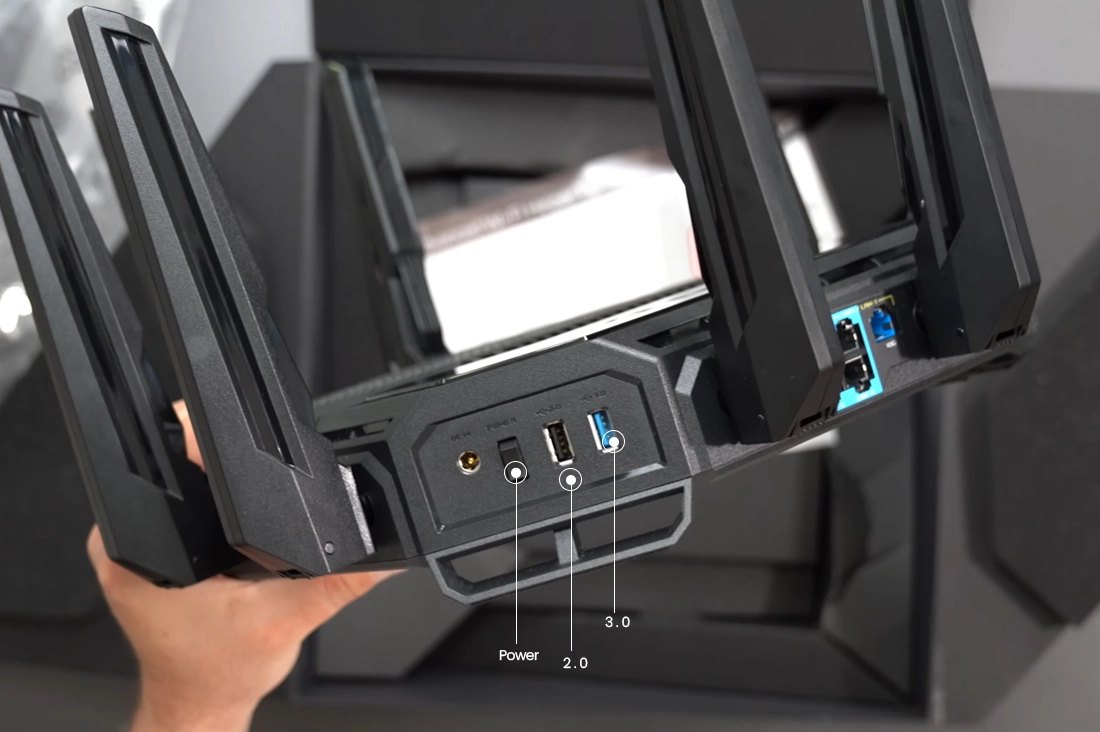
- Firstly, plug your Asus gaming router into a power outlet.
- Now, connect your router to the computer via a wired or wireless connection.
- Then, launch a web browser on your computer and go to asusrouter.com.
- Next, set up a password for your router and enter the Quick Internet Setup (QIS) wizard.
- From the Welcome screen, tap “Create a New Network”.
- Now, your router will detect your internet connection type.
- If it fails to detect your connection type automatically, tao “Skip to manual setting”.
- Then, navigate to the Wireless Settings according to your network frequency.
- Further, go to the Login Information Setup page, create a new password for your router.
- After that, go to General or Advanced Settings from the QIS wizard.
- Go to Advanced Settings> Administration, and select Operation Mode.
- Here, you can select AiMesh Router or Wireless Router Mode, Access Point mode, Repeater mode, Bridge mode, or AiMesh node.
- Further, go to Administration>System to customize your default login details.
- Similarly, you can configure other Advanced or General Settings on your router.
- Follow the on-screen instructions to complete the Asus ROG Rapture GT-BE98 Pro Setup.
How to Update the Asus GT-BE98 Pro Firmware?
Furthermore, it is essential to ensure that your router is running with the latest firmware version. Indeed, keeping the router firmware current helps to achieve high performance, mitigate errors, and improve security.

This section will guide you through updating the Asus GT-BE98 Pro Firmware step-by-step, ensuring your router stays at the forefront of networking technology. Have a look:
- Initially, download a compatible and most recent version of the Asus router firmware from asus.com.
- After that, unzip this file and save it on your device.
- Now, log in to your Asus router QIS via asusrouter.com web GUI.
- From the setup wizard, go to the Advanced Settings.
- Hereon, tap Administration and select the Firmware Update tab.
- Now, click on “Browse” from the “New Firmware File” field.
- Then, upload the previously saved file and tap “Upload”.
- Wait till the firmware update is in progress.
- After that, restart your gaming router, and it will be running on the current version.
Finally, you have now learned the Asus ROG Rapture GT-BE98 Pro Setup quickly. Still, unaware of the procedures? Visit our specialists via the chat box!
FAQs
Do I need to update the Asus GT-BE98 Pro firmware regularly?
Indeed, upgrading the regular firmware on your Asus GT-BE98 routers is essential to maintain their peak performance. They offer critical security updates to address new weaknesses, bring in performance upgrades, enhance security, fix bugs, and add new capabilities to your router.
My internet is not working after the Asus GT-BE98 Pro setup. How can you start troubleshooting?
First, check the WAN (Internet) LED on the router; this should be solid green. Then, do an ISP modem/gateway power cycle by powering off the power plug for 30 seconds and replugging it. Lastly, the Ethernet cable linking your modem to the WAN connection socket of your router should be well plugged.
Do I need an active internet connection on my phone to complete the initial app setup of the router?
Yes, you will require an active internet connection for the Asus router setup via the app.